All Categories
FilterApply
Categories


FilterApply
Categories
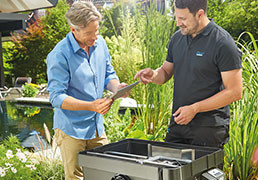
![Helpful info]() Find out more
Find out moreHelpful info
Making things easier
Use our helpful information section to assit you on buy and maintaning your products.
Use our helpful information section to assit you on buy and maintaning your products.

