How to Build and Maintain a Pond
Having your own pond or water garden is one of life’s simple pleasures. It adds aesthetic value to your property and completes an enticing outdoor space where you can lounge in the shade, enjoy time with friends and family, or simply spend a few moments in quiet reflection.
Many homeowners opt to build their own ponds, using equipment and supplies from our online shop. Are you interested in doing the same? Here are the basic steps for building and maintaining your own pond.
Begin by Planning out Every Detail of Your Pond
Every quality pond is conceived through a detailed planning phase. Building a pond is not something that you want to play by ear, as far too many things could go wrong without proper planning.
- Start by determining the type and size of pond you would like to build.
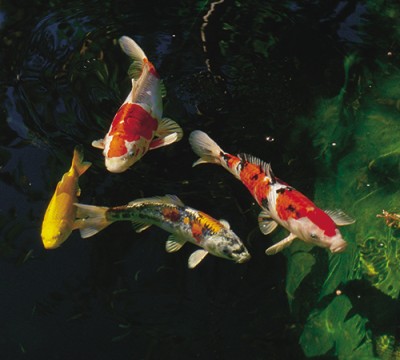 People install ponds on their properties for different reasons. Some are interested in raising koi fish that they can easily admire whilst lounging in the garden under a shade tree. Others are more concerned with creating a water garden and growing aquatic plants. And for some, the most enticing reason to build a pond is so that they can fit it out with a water feature or two. After all, there’s nothing quite as soothing as the trickle of a waterfall on a warm summer’s day.
The type of pond you are trying to create will determine many of the specific planning details. For example, a koi pond will need to be larger than one intended specifically for growing aquatic plants. Likewise, raising koi will limit the type of variety of plants that you can cultivate. With these details worked out, you’ll be prepared to begin siting your pond.
- Decide where you are going to build the pond.
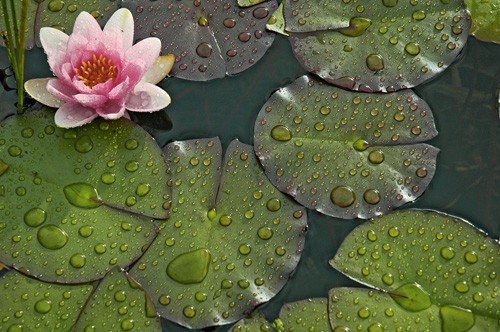
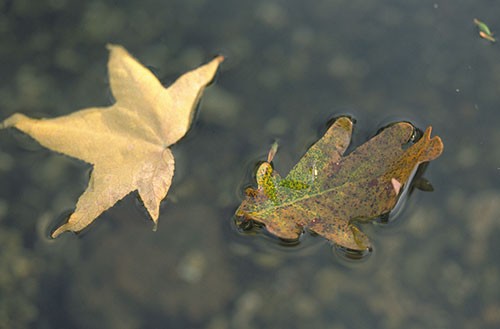
Location is a critical consideration when building a pond. You’ll want it to be positioned in a place where you can easily see and enjoy it, so this usually means locating it close to the house. However, you’ll also want to take issues such as nearby trees or rain run-off into account. Too many trees looming over your pond can end up littering it with fallen leaves, which will require more routine clean-up than you may care to do. Likewise, certain plants (such as water lilies) require a fair amount of direct sunlight, and shade could create problems.
- Determine the desired depth of the pond.
First-time pond builders can easily underestimate how deep their pond needs to be. The type of pond you are building will help you determine its minimum required depth. As an example, a koi pond will need to be at least 1.5 metres deep, while you can get away with about two-thirds of that depth for a pond for goldfish or water lilies. If you live in an area that experiences freezing temperatures, you’ll also want to ensure that the pond is deep enough to keep from freezing solid in winter.
Now It’s Time to Begin Building Your Pond
If you’ve accomplished everything in the previous section, then you know both the location and the basic dimensions of your pond. Now it is time to begin laying it out. The easiest way to accomplish this is with a length of rope or even a garden hose. This is when your vision for the project really begins to materialise.
It’s important to keep in mind that the pond area may look larger than expected at this stage. Do not let this deter you, as the reality is that your pond will appear around 30 per cent smaller once it is finished.
Once the pond is laid out, it is time to begin digging. Here are a few notes for the digging phase:
- If you will be cultivating plants in your pond, dig a 30 cm shelf around its perimeter.
- If you plan to install a waterfall, be sure to dig a slight slope into the pond floor angling down from the waterfall to the opposite end.
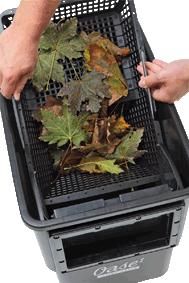
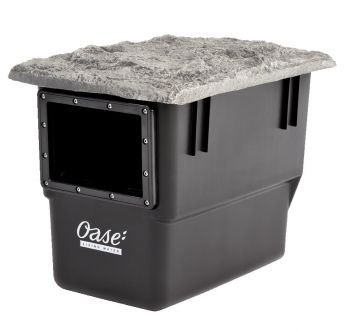
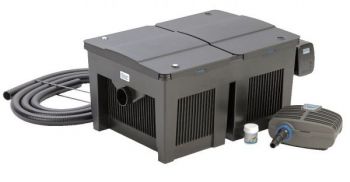
- Install your pond skimmers and pond filters; they should sit level in the location where you install them.
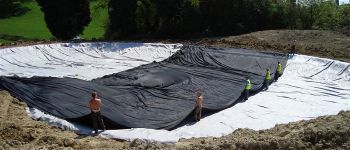
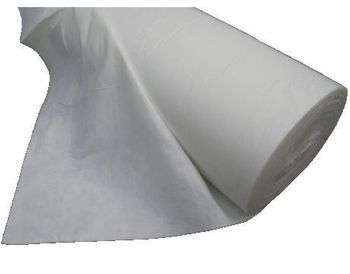
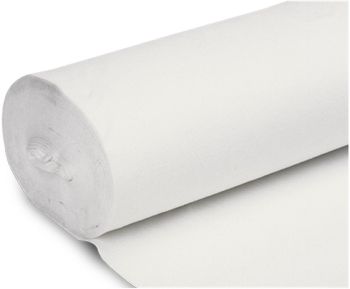
Now that you have finished digging the pond, it’s time to install the lining. Begin with an underlayment of newspapers. This serves to protect your liner from getting punctured by rocks or debris in the ground. The newspapers will naturally decompose under your liner and create a clay-like substance. You can also purchase a high-quality pond underlay from our shop.
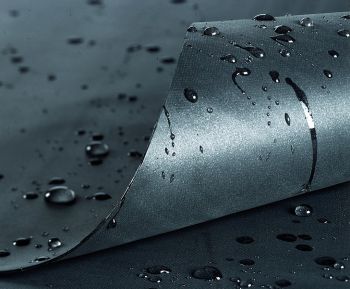
Next, it is time to install the pond liner. Our pond liners are black and made from one of the following four materials:
- PVC
- SealEco GreenSeal
- Butyl
- Firestone EPDM
Position the liner evenly across the pond, and do your best to minimise wrinkles and folds. But don’t go overboard in trying to achieve a perfectly smooth surface. This is practically impossible, and the wrinkles will be further pressed out once water is added to the pond.
At this stage, you can begin working on waterfalls and any streams flowing into or out of the pond. You’ll also need to connect the skimmer to the liner if you are using an integrated device such as the Oase BioSys Skimmer.
Finally, add the edging to the pond. Some people use coping, others prefer to fringe their pond with natural stone.
Here Are Some Notes on Pond Maintenance
 Once the hard work of planning and building your pond is complete, you can finally take some time to enjoy the finished product. However, ongoing pond maintenance is essential to ensure that your fish remain healthy and that your water stays clear and algae free.
While it may come as a surprise to you, but a larger pond is actually easier to maintain than a smaller one. This is due primarily to the fact that algae will grow more robustly in a small pond, while it is much easier to keep under control when working with a larger volume of water.
You can use a net skimmer to remove leaves and debris that fall into your pond. If that sounds like more work than you care to do, consider purchasing an automatic skimmer from our shop. This will dramatically reduce the amount of routine clean-up you’ll need to commit to.
For more in-depth maintenance instructions, have a look at this handy, seasonal pond maintenance guide from Better Homes and Gardens.