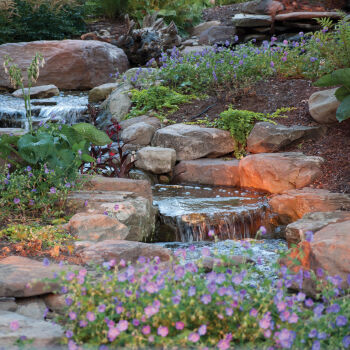
How to Build a Garden Stream
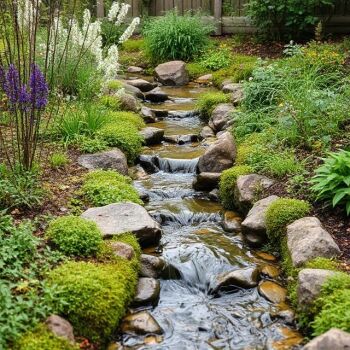
If your garden features a slope or incline, creating a decorative stream could be a wonderful addition. Not only with this look attractive, it will also sound beautiful with the gentle soothing ambience of flowing water. Furthermore, an artificial stream will encourage birds and local wildlife to visit your outdoor space. Even if your garden is flat, a decorative stream can still be created and will help to define and break up any bland expanse of grass or paving.

So, what do I need to create a garden stream?
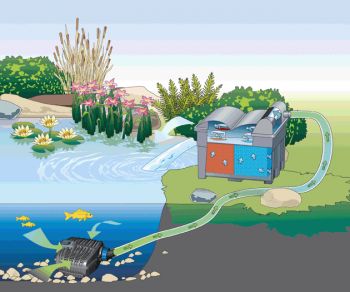
Assuming you do not have a pond for the stream to cascade into, here is a list of parts usually required to construct a garden stream.
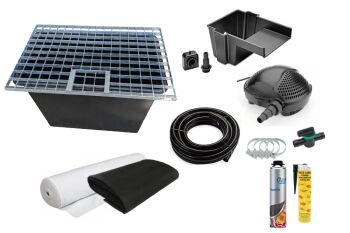
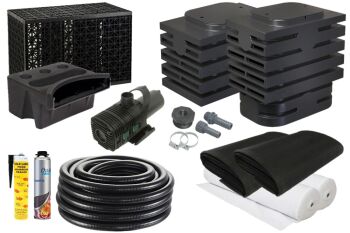
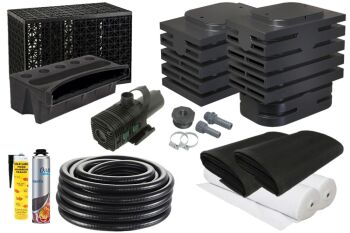
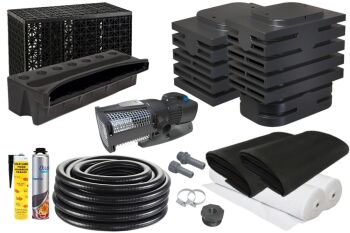
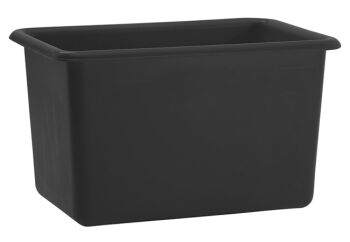
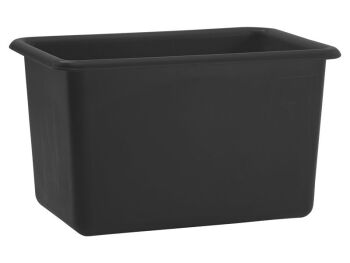
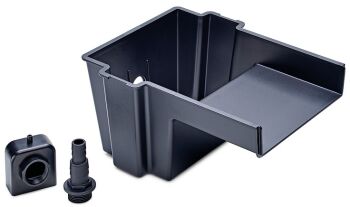
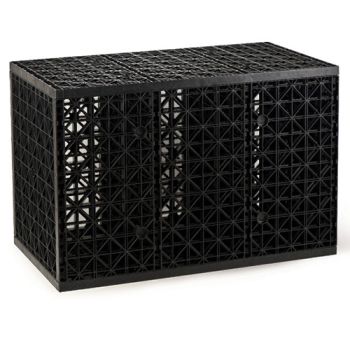
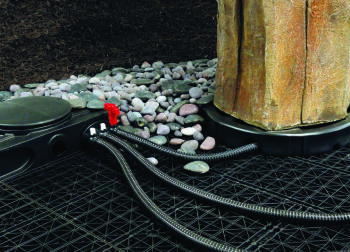
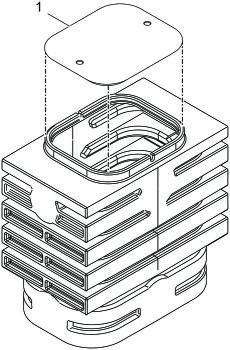
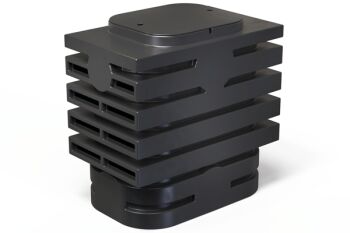
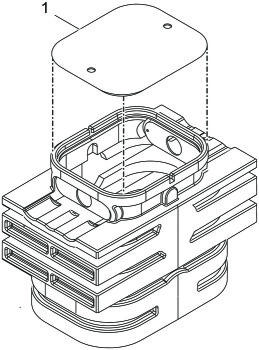
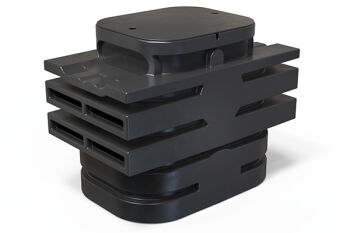
Underground Water Reservoir.
This is a rigid hollow container designed to hold plenty of water for the pump to pass up to the top of the stream. This is usually dug into the soil so the top of the water sump is flush with ground level.

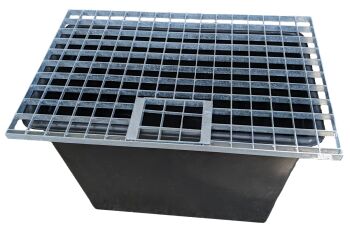
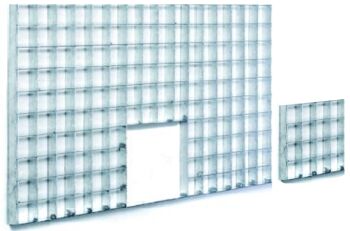
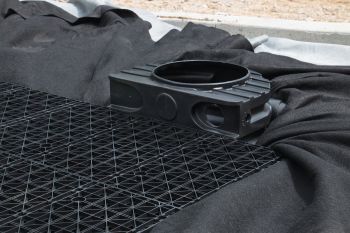
Steel or Plastic Lid or Grid.
The lid or grid is placed over the reservoir and should be sufficient to support the weight of a human. The grid also prevents debris entering into the reservoir water. The top of the grid is usually covered over with decorative stones, pebbles or chipping to disguise from view.

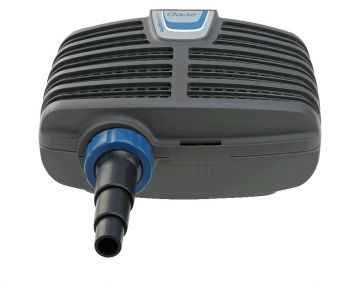
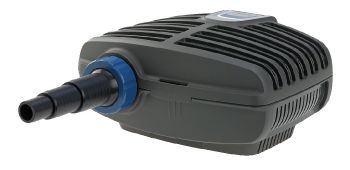
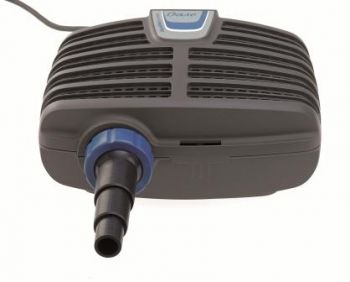
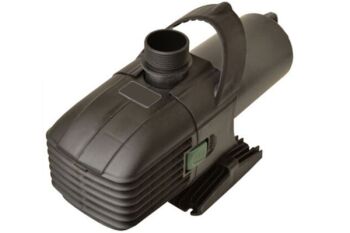
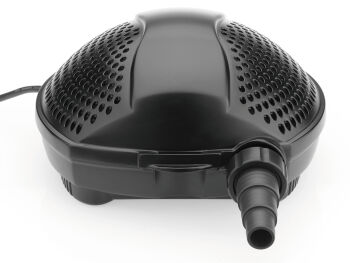
Water Pump.
The pump is usually submersed directly into the reservoir and will force water from the reservoir to the top of the stream. Water will then run back into the reservoir from the stream by gravity. Care should be taken in selecting the water feature pump to ensure this is powerful enough to provide a decent flow of water which is dictated by the width of the stream ‘channel’, the height from the reservoir to the top of the stream and the hose diameter used. Our team of experts at Water Garden Ltd can help you choose the correct pump for your stream project.

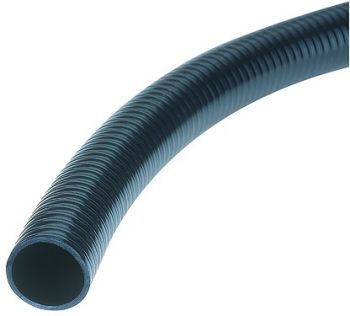
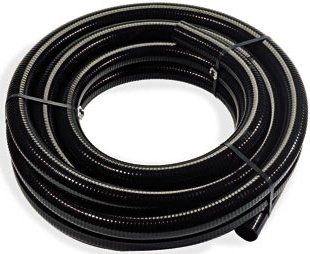
Pond Hose.
This flexible PVC hose will connect to the pump and to the top of the stream. Care should be taken with hose selection to ensure the pipe diameter is big enough so as not to restrict the flow from the pump.

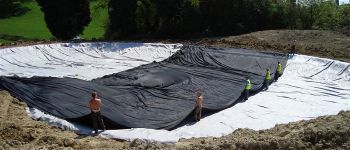
Flexible Rubber Liner.
A rubber liner is used to create a waterproof channel for the water to flow down. Usually an EPDM rubber liner is used as this is nice and flexible and can be pleated and folded if desired, should the stream design feature a meandering shape or include drops or small pools.

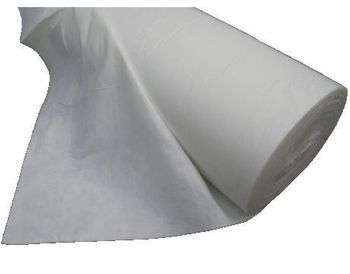
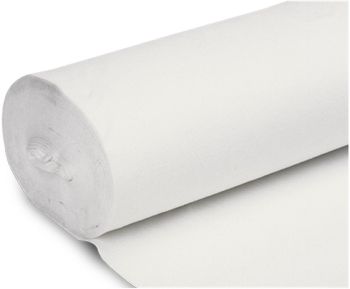
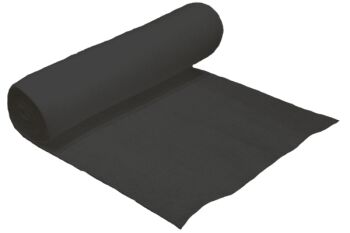
Protective Underlay/Fleece.
The protective fleece is placed below the rubber liner to prevent potential puncturing from stones or root penetration in the soil. Black Underlay can also be used as an ‘overlay’ inside the stream channel, should rocks and pebbles etc be used to dress the internals of the stream channel.

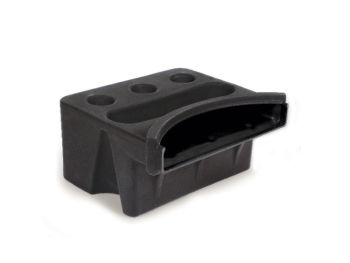
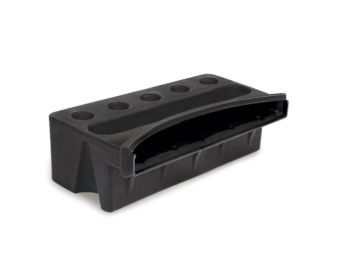
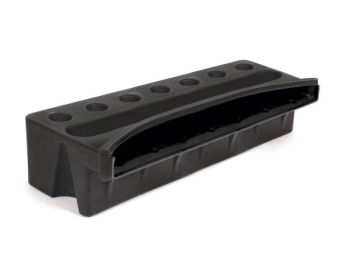
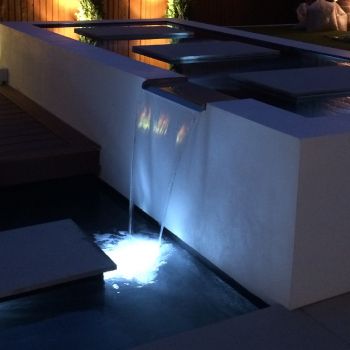
Spillway / Water Blade (Optional).
A spillway is a compact means of spreading the water flow immediately at the start point of the stream. If the water is simply blurting out of the hose, it will take a little time and distance before the water spreads across the full width of the stream channel. A device such as a ‘Watercourse Spring’ will cause the incoming water to spread immediately on exit so a full width of water flow is achieved at the beginning of the stream. An alternative solution is to nestle the flexible hose into rocks and pebbles so the water is ‘diffused’ and able to spread at the start point of the stream.

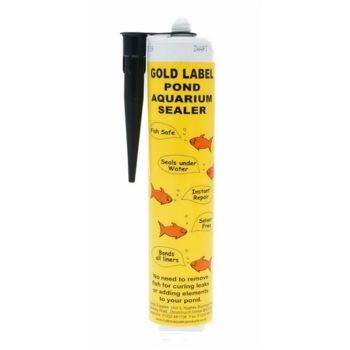
Liner Adhesive.
This special pond liner adhesive is used to bond the end of the rubber liner to the inside wall of the water reservoir. This will prevent water ‘wicking’ up and out of the reservoir by capillary action.

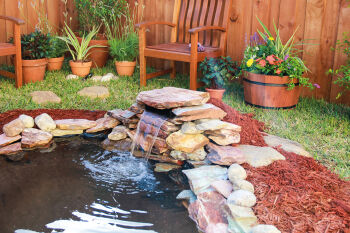
Decorative Rocks/Stones/Pebbles.
Aggregate can be used to dress the top of the reservoir grid, inside the stream channel and also around the perimeter of the stream’s span to create a more natural effect.

Step 1. Planning.
You will need to work out where best to place the water reservoir (at the lowest point of the stream if the land is on an incline) and also the shape and contouring of the stream. The easiest method is to lay out ropes to determine the form. You can easily move the ropes as you see fit to include a more meandering journey for the flow of water. You can design the stream channel as wide or as narrow as you wish and the stream channel can also vary in width over its length if desired. Once you are happy with the layout, you can spray mark the route with line marking spray and then remove the ropes.
Step 2. Digging.
The ground can now be dug out to cater for the stream and the below ground reservoir. Ensure the stream has a reasonable depth and make allowance for any depth of decorative aggregate you may be placing along the stream length. As a guide, the stream channel should be around 8-10 inches deep (20-25cm) which will allow for a few inches of decorative stones and a reasonable depth of water, without splashing outside of the stream channel. A separate channel can be created for the flexible hose route or, the hose channel can be made in the stream channel itself.

Step 3. Reservoir & Pump Placement.
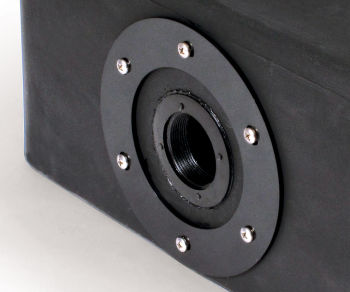
Place the water reservoir into the excavated hole and ensure this is level. Place the pump into the reservoir and connect the flexible hose to the pump. The hose can either run over the top of the reservoir lid or a Tank Connector and Threaded Hosetails can be used to pass the hose through the side of the tank if required. Run the hose up through the channel and ensure excess hose is available at the top of the stream for routing to the start point. The reservoir can then be backfilled with sand for stability and rigidity.

Step 4. Lining.
The protective underlay should be laid in the water channel and over the edges of the channel. The Underlay can be laid up to the reservoir rim but not into the reservoir itself. The rubber pond liner can now be laid into the water channel and again ensure that there is excess liner over the edges of the channel. Do not cut the liner until you have tested the performance of the cascade. The liner can now be bonded to the inside wall of the reservoir with around 8-10” (20-25cm) of the liner bonded to the inside wall.

Step 5. Dressing.
Dress around the edges of the stream with decorative rocks and pebbles of your choosing. The water channel can be left as a black liner or this can also be dressed internally with small stones or pebbles. It is recommended to lay a black ‘overlay’ fleece if dressing the internals of the stream channel to prevent any damage topside to the rubber liner which could otherwise create a puncture and leakages. Once the stream route has been dressed, fill the reservoir with water and test the pump at the desired flow rate for several hours, checking for any possible splashing or water loss and redress if needed in those problematic areas. Once fully tested, the rubber liner can now be trimmed around the edges of the stream. Plants can be added along the perimeters of the stream to create a more natural look if desired.

Step 6. Admiring.
Finally, you can sit back and enjoy the natural sights and sounds of flowing water in your garden!


Products in this range


![Helpful info]() Find out more
Find out moreHelpful info
Making things easier
Use our helpful information section to assit you on buy and maintaning your products.

